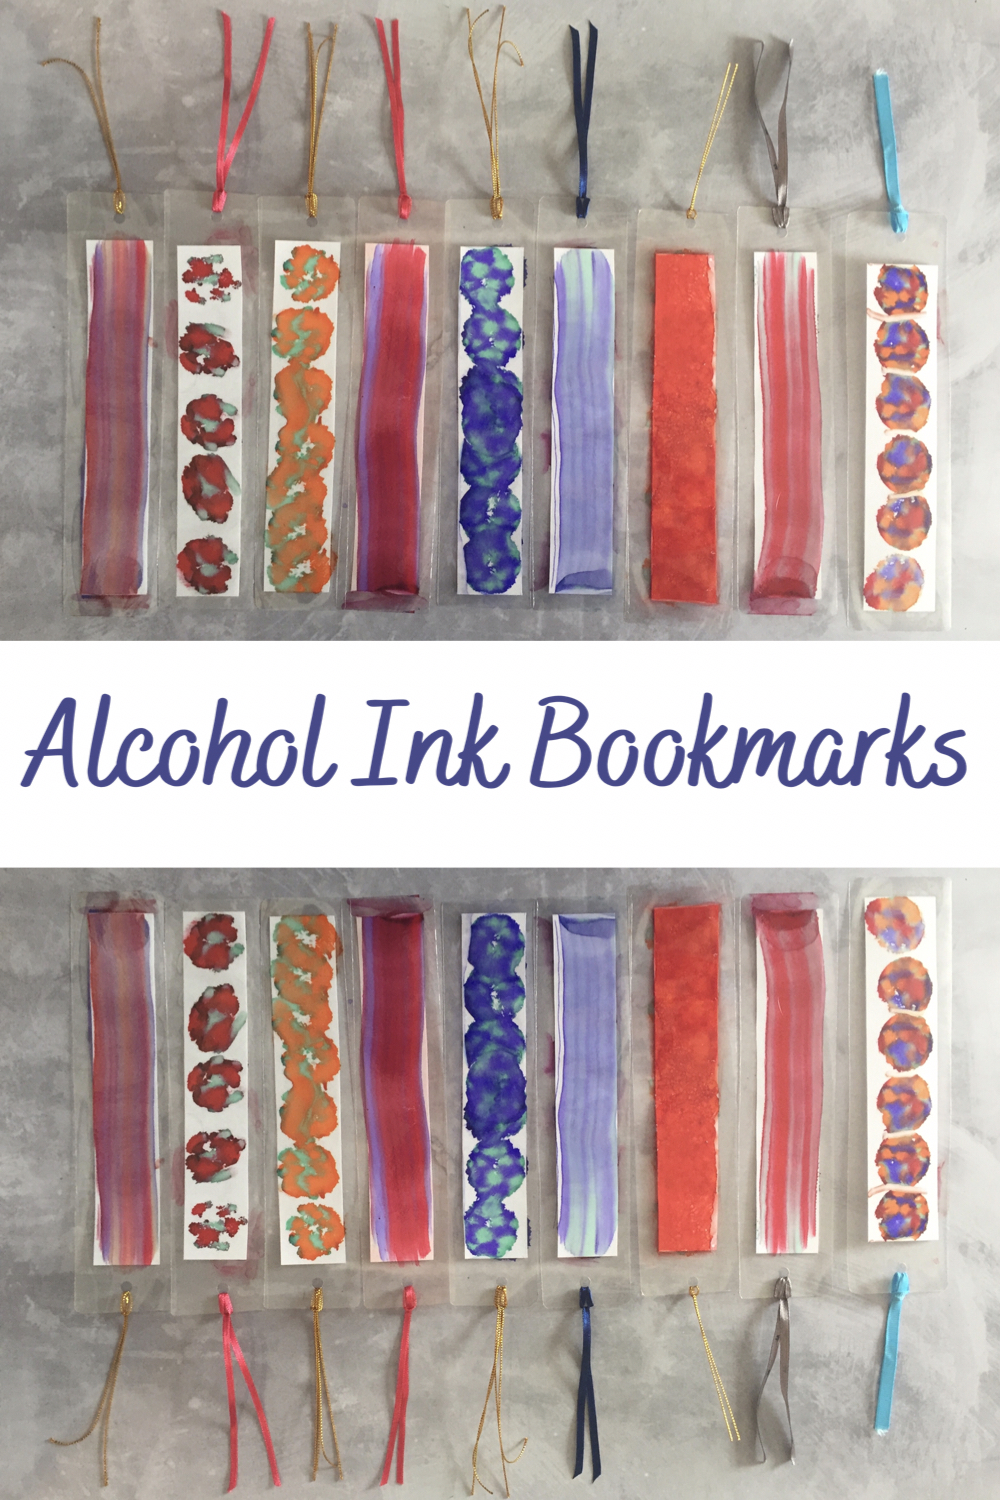
We like to make the teachers at home made gift at Christmas and at the end of the term and this year we decided to make these alcohol ink bookmarks. They were easy to and the finished effects are really pretty. While alcohol ink isn’t the cheapest process art supply, there is lots you can do with it like these Coasters and these Christmas Tree Baubles.
This post contains affiliate links (identified with a *) I earn a commisson from qualifying purchases
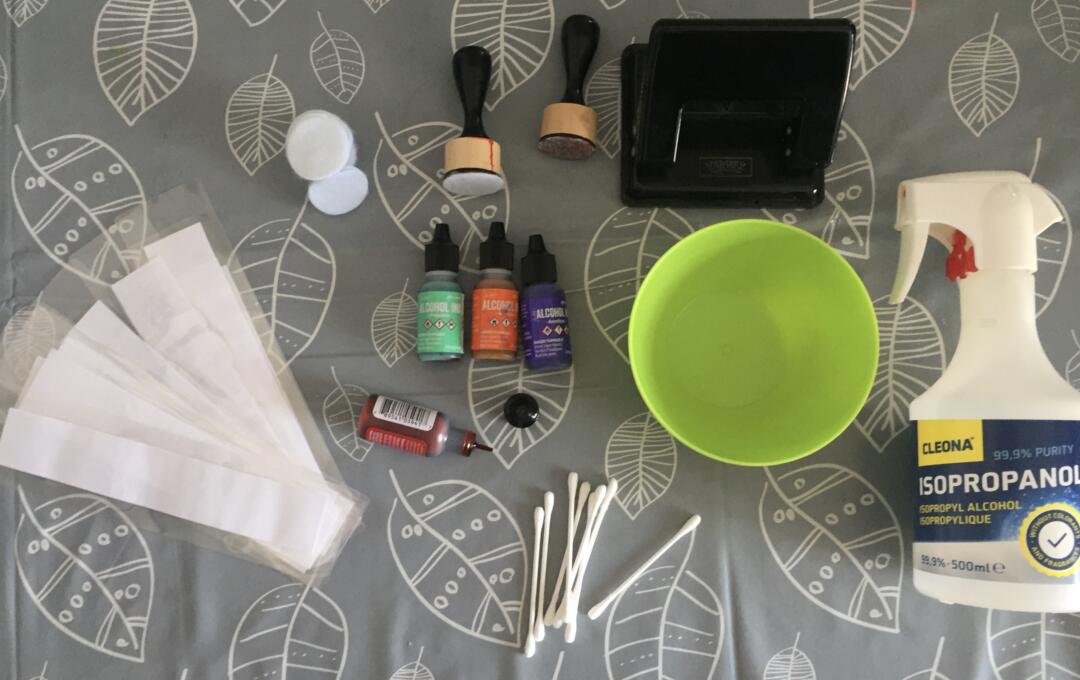
What You Need to Make Alcohol Ink Bookmarks
- Laminating pouches and a laminator – I have this laminator and use these pouches, if you don’t have a laminator you could try and find some stiff plastic in your recycling that you could cut to shape
- Paper – Just plain copier paper is fine
- Alcohol Inks – I have one of these sets*, plus an odd one. Four is plenty to create a range of pretty effects and you could easily do it with three
- Some kind of applicator – you can buy one* or make your own
- A whole punch – Just the regular paper one works fine
- Some ribbon/pretty string – To finish them off, we used some of this gold string* and some hanging ribbons that I have cut from clothes
- Rubbing alcohol and cotton buds (optional) – We used rubbing alcohol* to clean up the edges of our bookmark
Preparing Your Bookmarks
This first part is best done by a grown up or an older child. You’ll need to cut some paper into bookmark sized strips and place them inside a laminating pouch, leaving space all the way around, with slightly more space at the top to allow you to make the hole and add the ribbon.
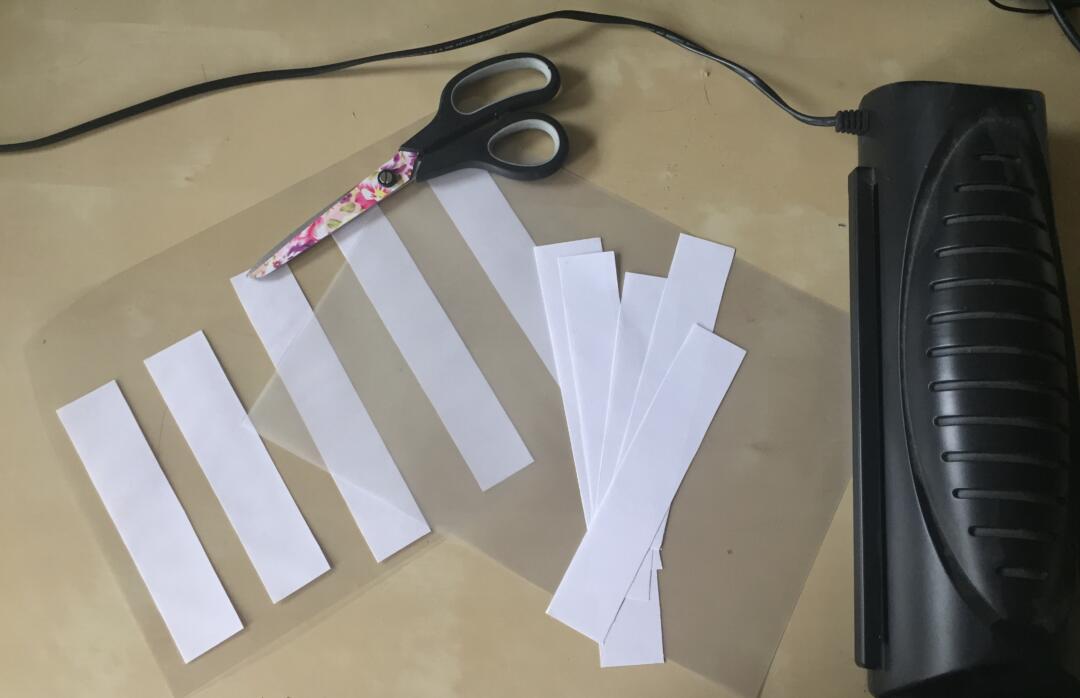
Run the pouches through the laminator and then cut them down to individual bookmarks. Either punch holes in the top yourself or let the children do it.
Decorating the Bookmarks
To decorate the bookmarks, drip a few drops of alcohol ink on to your applicator. We got good results with just two colours, three colours or four colours. Then press the applicator onto the bookmark to transfer to colour.
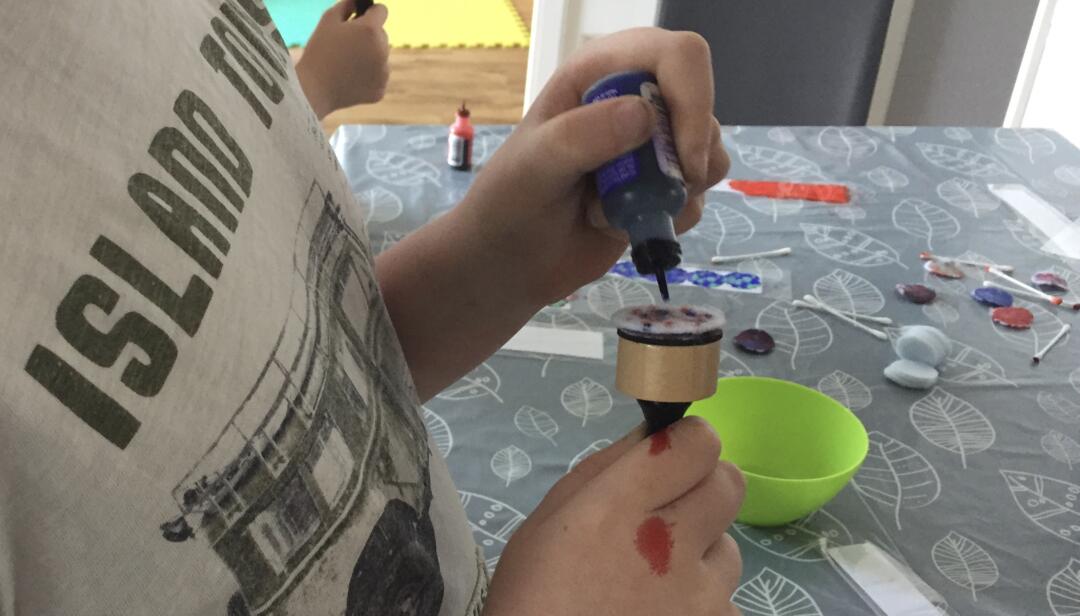
My youngest child went for circles of colour which gives a result like this:

I covered the hole white part of the bookmark with colour then cleaned the excess off the clear part with rubbing alcohol and cotton buttons which gave this result:
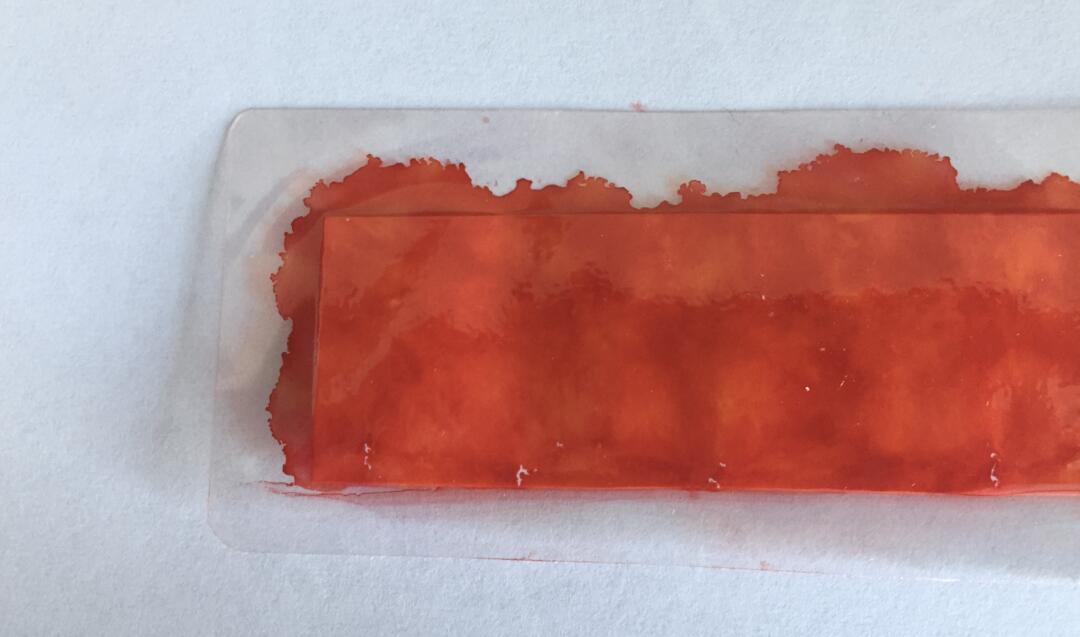
My oldest, who is always a bit clever with this process art stuff, created a rainbow effect by putting drops of each colour in a line across his applicator and then dragging it down the bookmark:

If you don’t like your first result, you can clean them off with rubbing alcohol and start again. We let the first side dry for about 15 minutes before turning them over to do the other side. Once both sides were dry we added the ribbon or string by doubling it over, pushing it through the hole and then pulling the loose ends through the loop.

We’ll be using our finished bookmarks as teacher gifts as well as keeping one or two for ourselves. They would also make great Christmas or birthday gifts for friends and family. While you’re here don’t forget to check out our other process art projects.
Enjoyed this Post? Why not pin it for later!

Leave a Reply