
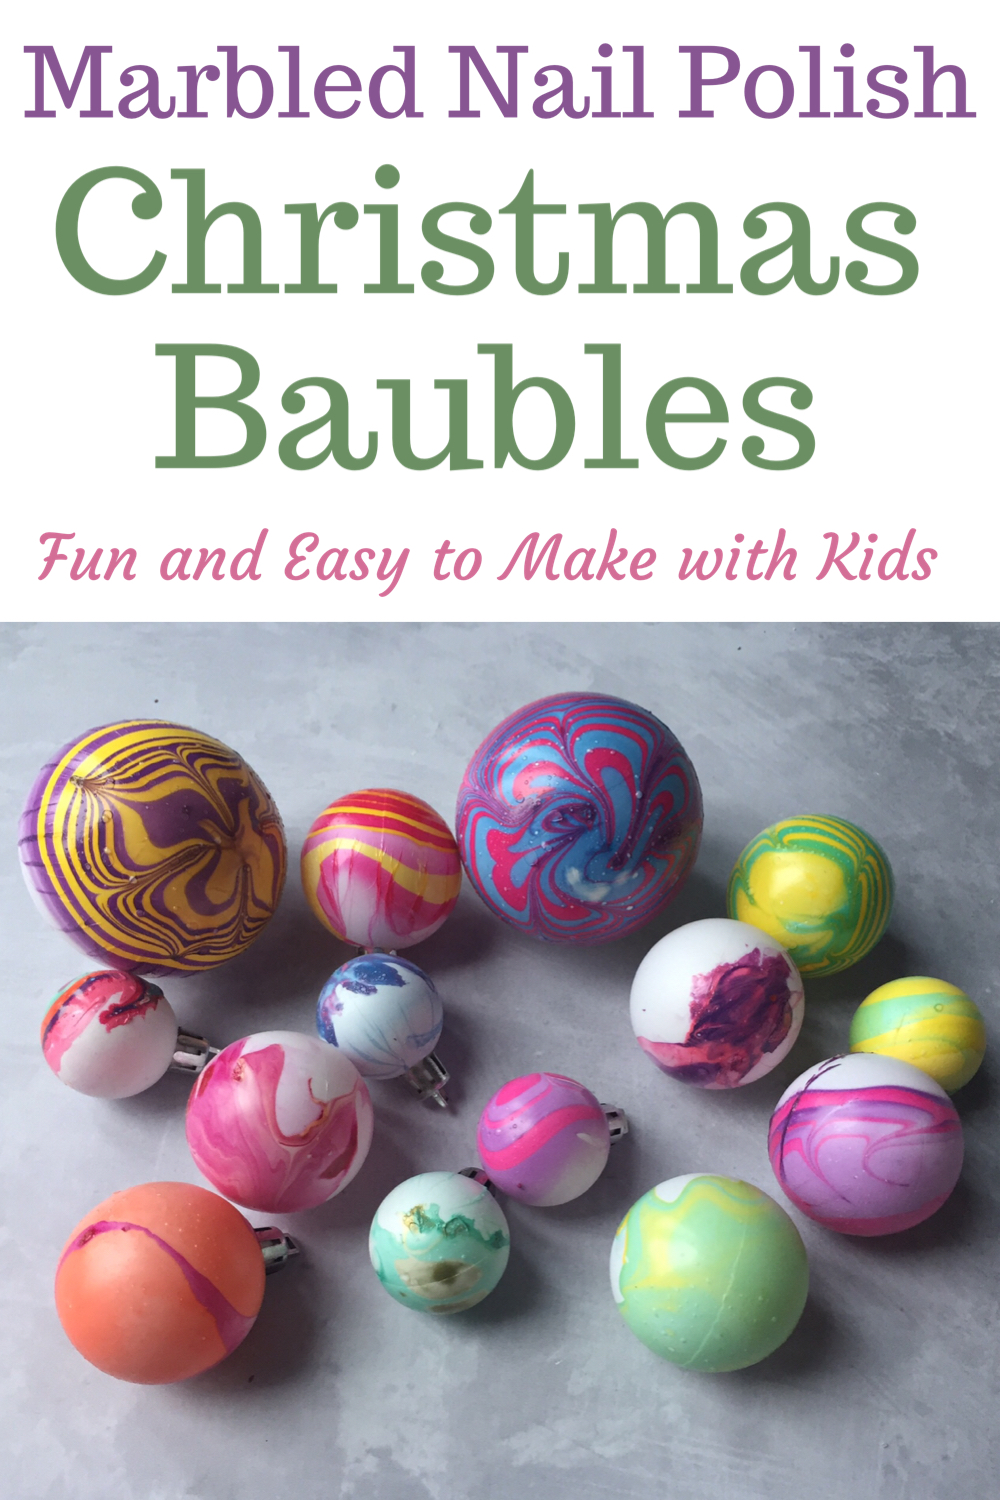
Every year, the kids and I make Christmas tree ornaments to give as gifts to the children’s teachers as well as family and friends. It’s one of our family traditions and we use a different process art to make them each time. Last year we make nail Polish ornaments by marbling different colour nail varnishes together. Here’s how we did it.
This post contains affiliate links (identified with a *) I earn a commisson from qualifying purchases
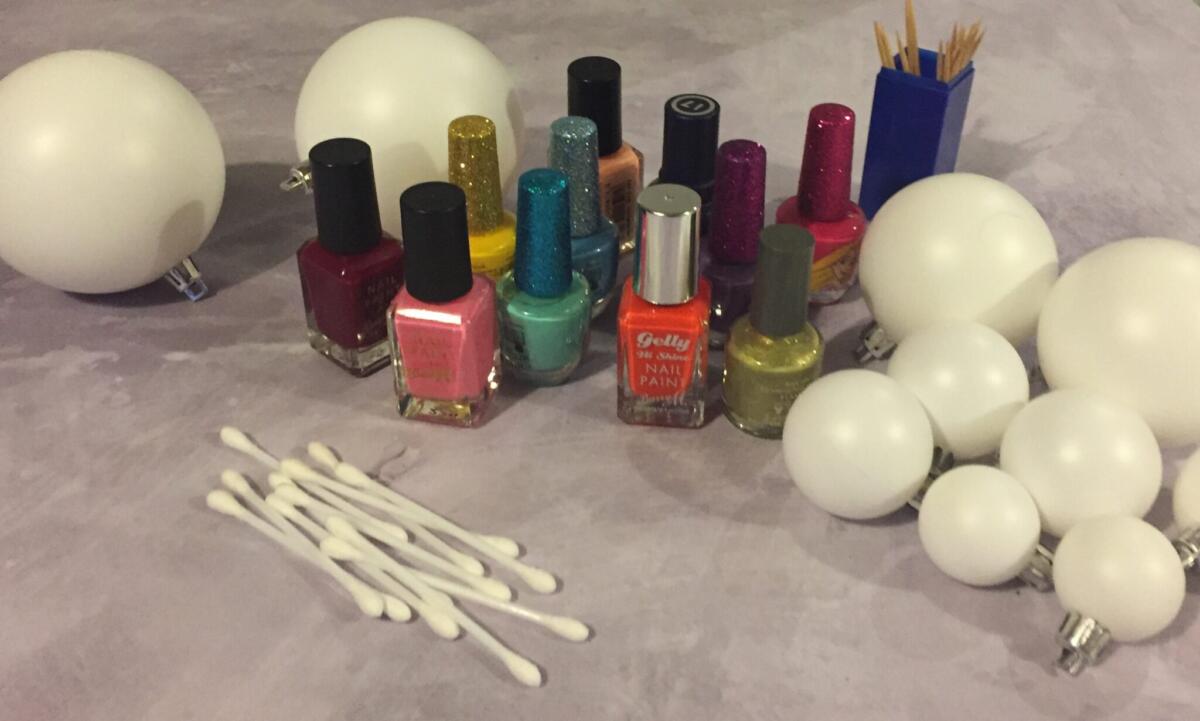
Equipment Needed to make Marbled Nail Polish Ornaments
- White Christmas Tree Baubles – Like these plastic ones* but you could also use glass as nail varnish will adhere to it. While you could use clear plastic or glass baubles, the colours won’t look anywhere near as bright if they aren’t on a white background. It is possible to paint clear plastic baubles white, which we did for our alcohol ink baubles. You ideally want fairly small baubles for this because it’s hard to cover large areas.
- Nail Polish – Some Nail polishes will work better for marbling than others and in reality there is no way to know before you try. We wanted bright colours and bold contrasts so purchased a cheap children’s set of nail polishes and they did the job, along with some Barry M ones I already had.
- A large container – A big mixing bowl or a clean washing up bowl work well.
- Cocktail sticks – You’ll need quite a few as they are tricky to clean once you’ve got nail Polish on them.
- Cotton Buds – You’ll need a few to clean your water.
- Greaseproof Paper – Optional but it is a good thing to dry them on.
Preparing to Make Your Nail Polish Christmas Ornaments
You’ll need to fill your container with water, at least a few inches deep. The water should be luke warm, add a little boiled water if it comes out of the two very cold as cold water will make the Polish set too quickly. It’s important that you work quickly once you start so select you colours, loosen the lids and put them near you container of water along with a cocktail stick. We experimented with using lots of different colours but definitely got the best effects with just two, very contrasting colours.
Adding the Nail Polish to the Water
When you are ready, use the brush from the nail varnish to drip a drop of the nail varnish into the water. Often this first drop will dissipate into the water but don’t worry. Take your next colour and add a drop on top of the one you just added. Keep adding drops, switching between the colours until you have an area large enough to coat you bauble.

Marbling the Nail Polish for your Bauble
Once you have all of your nail Polish added, use the cocktail stick to marble it. Place the tip of the cocktail stick in the middle of the Polish and draw it out to side. Repeat all the way around the circle. You’ll need to do this quickly so that the nail varnish doesn’t have time to harden.

Adding the Nail Polish to your Ornaments
Once your nail Polish is marbled, take your bauble and, holding it but the hanging part, gently push it down into the nail polish and, rather than lift it it straight up and out, slide it smoothly through the water and out again in a curve.
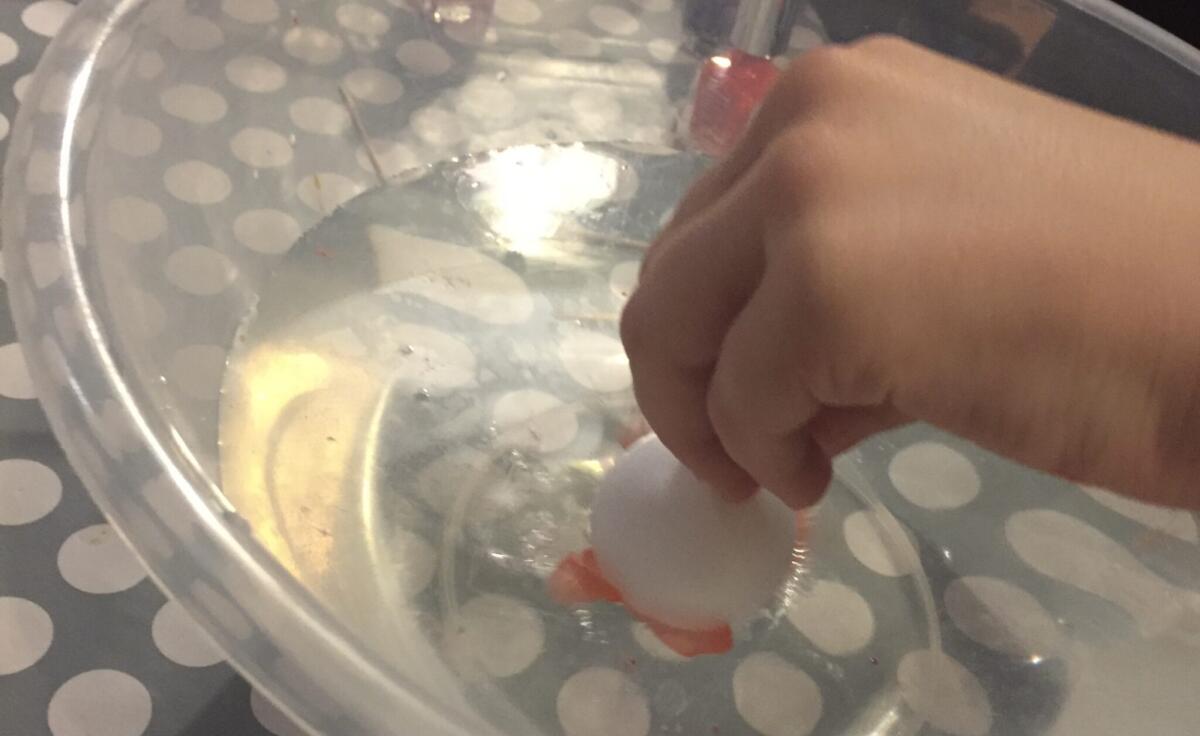
Leave the baubles to dry on some greaseproof paper as this will peel off fairly easily if they stick a bit. You can now use the cotton bud to clean your water. Just swoosh it around and any nail Polish left in the water will stick to it. You’re now ready to go again.
You might also enjoy our how to posts on Alcohol Ink Baubles, Melted crayon decorations and melted bead decorations.
Enjoyed this post? Why not pin it for later!
Leave a Reply