
Shaving foam marbling is a really simple process art activities. You may well have everything you need in the house already. One word of warning though, if your children decide to turn the shaving foam into a messy play activity when the marbling is finished, they will have rather colourful hands for a few days!
This post contains affiliate links (identified with a *) I earn a commisson from qualifying purchases
What you Need for Shaving Foam Marbling
- Shaving Foam – not gel, one from the “basics” range is fine
- Food colouring* – you need the liquid kind as the gels don’t marble as well
- Some trays – We used baking trays but any shallow trays will work
- Skewers – wooden or metal, or anything narrow and pointy!
- Card* – We used white card but you can marble paper using this method too
- A Ruler – Ideally a 30cm one
- A Spatula or palette knife – but you can manage without

Preparing the Shaving Foam and Food Colouring
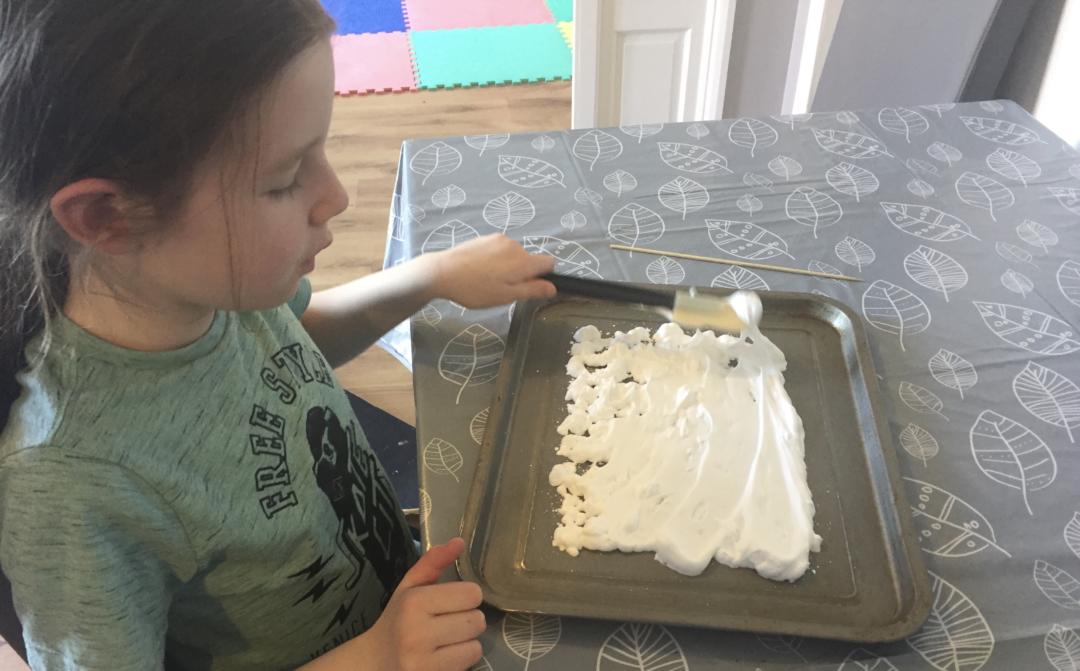
Start by squirting some shaving foam into your tray and spreading it in a thin layer. You’ll want to spread it so that it is the same size as your card or paper.
Next you’ll need to choose your colours. We decided to stick to three colours but you can do more. Two would be minimum to get a good marbled effect.
Drip the food colouring in spots over your shaving foam, aiming to end up with an even spread of drops of each of your colours.

You then use your skewer to swirl the colour drops around in the shaving foam to create a marbled effect. Don’t over do it because you want the colours to stay distinct, if you go too far they will all blend together.

Marbling the Card
When you are happy with the marbled pattern you’ve created you can take your card or paper and put it on top of the shaving foam. Press it down lightly to make sure that all of it is touching the foam. Now leave it for about 30 seconds.
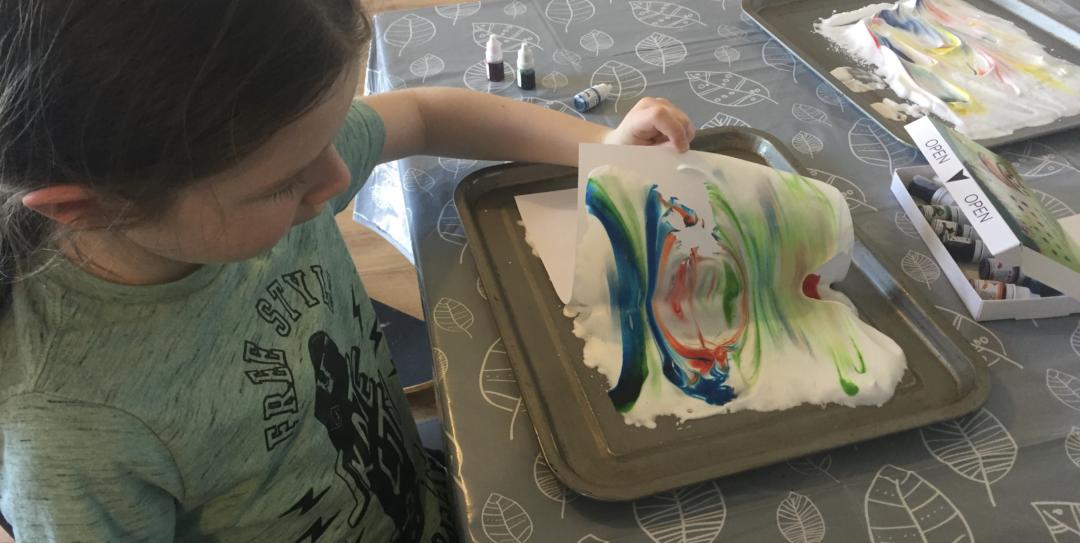
When you’re ready, peal the card or paper off the shaving foam and place it flat on a clean surface. Use the ruler to scrape the shaving foam off of the card, don’t worry, the colours will stay on there. If there is still some shaving foam left on your marbled card, just gently wipe it off with a piece of kitchen roll.

Uses for the Marbled Card
If you want to make use of the card, you can turn them into birthday cards for people. We just folded ours and used them as cards but you could also write “Happy Birthday” on a piece of paper and stick it on.

If you’ve used paper, you can use it as wrapping paper for small gifts, or even attach a few together to make a lager piece of wrapping paper.
If you’d like to try some more process art with the kids, check out our sharpie coasters.
Enjoyed this post? Why not pin it for later!

Leave a Reply