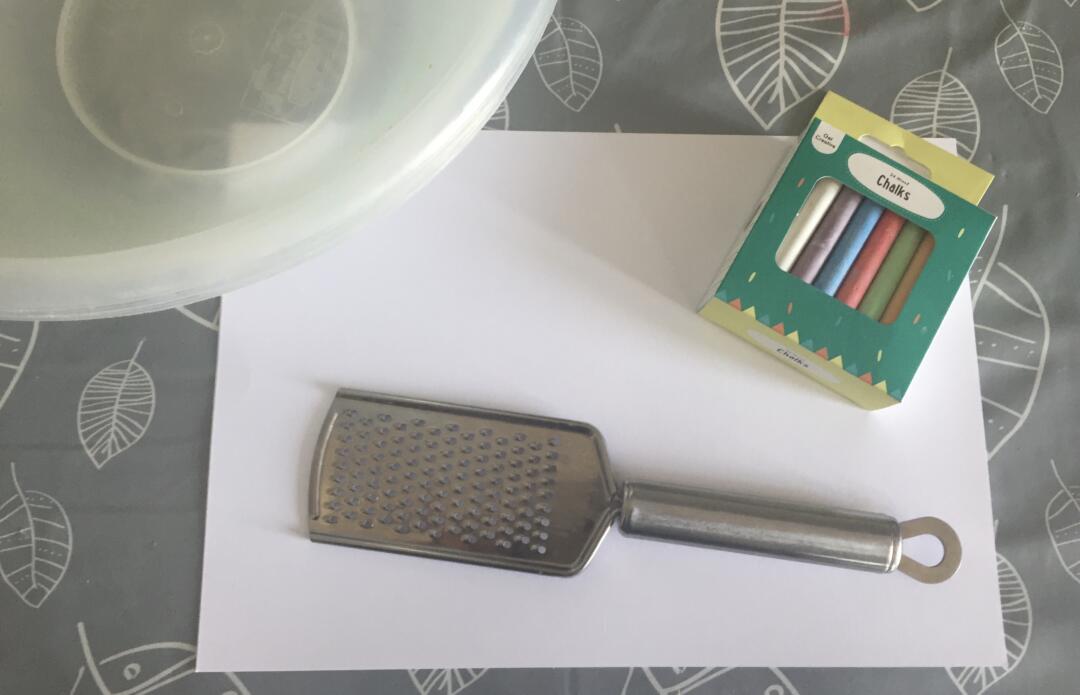
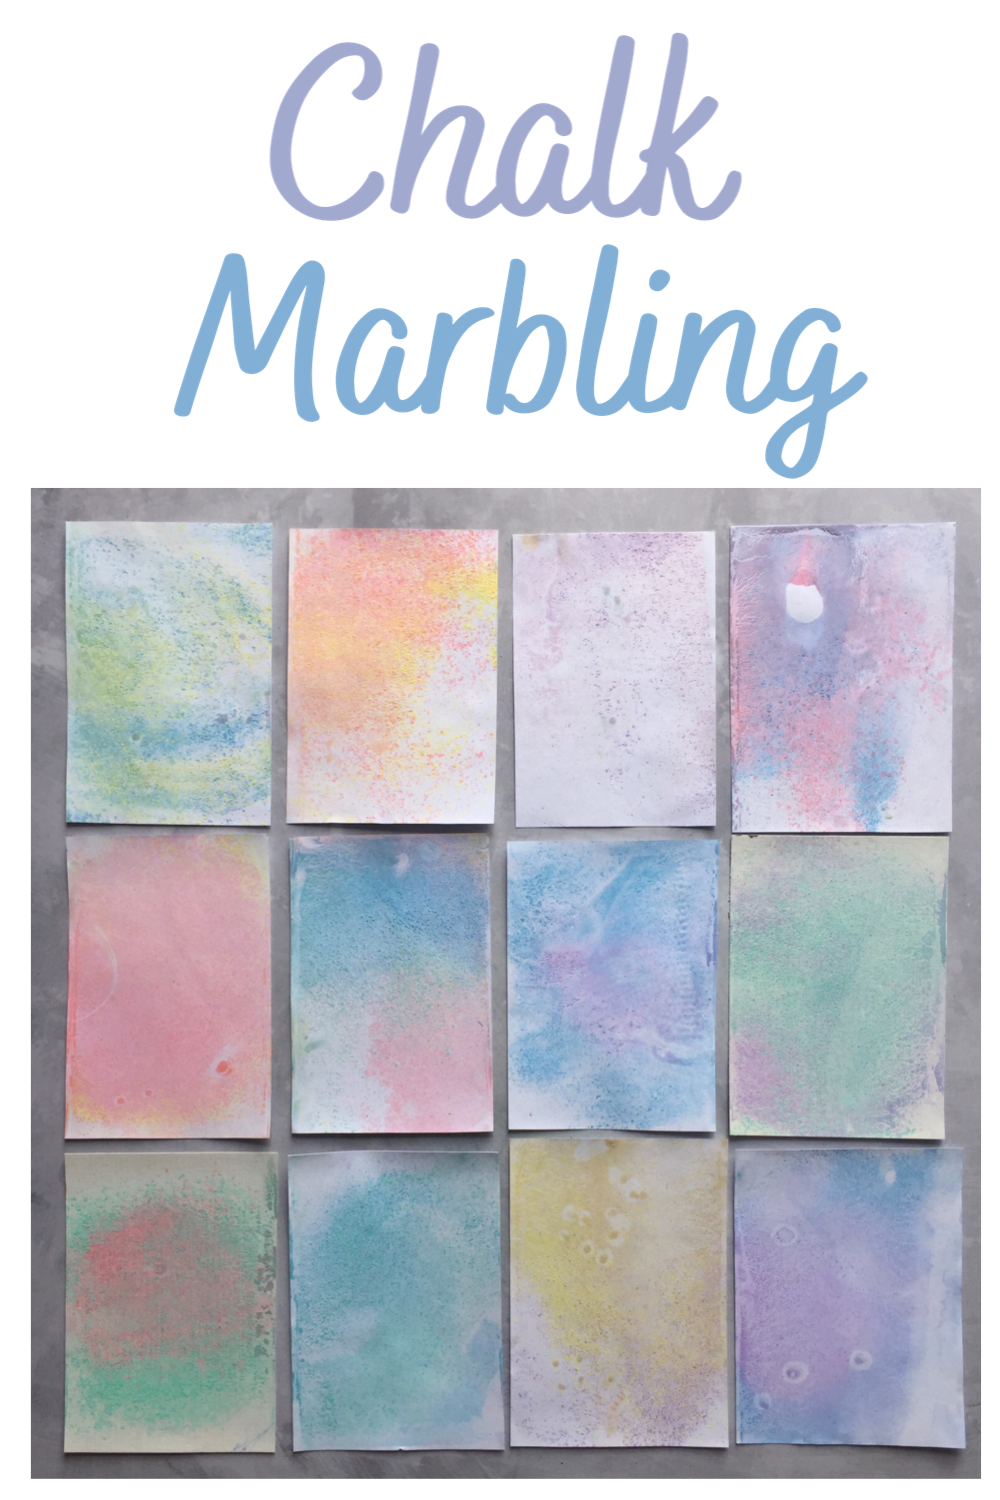
We’ve marbled with ink and marbled with shaving foam and really enjoyed it so we thought we’d have a go at marbling with chalk. This is a really easy process art activity that even toddlers could do with a bit of help. Everything you need is probably already in your house and if it isn’t, it’s very cheap to get hold of. The only mess you’re likely to make is some spilled water and a bit of chalk dust.
This post contains affiliate links (identified with a *) I earn a commisson from qualifying purchases
What You Need for Chalk Marbling
- Chalk – the large, pavement chalk* is easiest to work with, particularly if you have very young children, but you can use normal sticks of chalk almost as easily
- Large Bowls or Trays – We just used our large mixing bowls but you can also use oven dishes, deep baking trays or seed trays
- Card – the thicker the card*, the better it will cope with getting wet but even paper can be used if that’s all you have
- A Grater – This type* of hand held grater is easiest but you can use a box grater* too, it just needs to be a relatively fine greater
- Hairspray – optional, it just helps the chalk stay stuck to the card

Getting Ready for Chalk Marbling
First of all, fill your containers with water. You need at least a few inches and there are benefits to having it deeper which I’ll explain later.
Depending on the size of your container, you may want to cut your paper or card down to a smaller size. Smaller pieces can also be easier for children to work with, we cut ours down to A6.
Next you need to choose your colours. It’s best to do this first and have them at hand because you need to work fairly quickly. We found that sticking to 2 or 3 colours worked best, much more than that and they tended to become muddy.
Creating your Pattern
Once you are ready, grate the first colour of chalk over the water. Some of it will sink immediately but plenty will stay on top too. You may find some colours sink quicker than others (we found our purple chalk sunk particularly quickly) so they are best added last.
If you are working with toddlers you’ll want to hold the grater with them to make sure they don’t end up grating their fingers. Alternatively, you could pre grate some chalk for them and let them sprinkle it on with a spoon.
When you marble with inks or food colour in shaving foam, you swirl the colours around. That isn’t necessary with chalk, the process of grating it means the colours are marbled anyway and if you swirl the water most of the chalk will sink to the bottom.

Once you’ve added all of you colours, pick up your paper or card and lay it on the surface of the water. You should then pick it up again almost immediately to limit how wet it gets. Unlike with marbling ink, the movement of taking the paper out of the water doesn’t really change the pattern, the grains of chalk tend to stay where they initially touched the paper.
You’ll notice that by the time you have taken the paper out, most of the chalk will have sunk to the bottom. This means that, as long as the water is deep enough, you can go again without changing the water.
When you’ve Finished Marbling
Your masterpieces will need to be left to dry for a few hours (exactly how long will depend how wet the card got). I was worried that once they were dry the chalk would flake off easily but they were actually pretty robust. If you’re worried though, a quick spritz if hairspray will keep it in place. If they are still a bit curly from being wet, you can pop them under something heavy or between some books on a bookcase for a few days and they will flatten out.
You can use the finished pieces as greetings cards, postcards or just to display around the house. We used ours to make gift tags.

If you’d like to have a go at some other open ended art projects, check out our other process art activities for kids.
Enjoyed this post? Why not pin it for later!


Leave a Reply