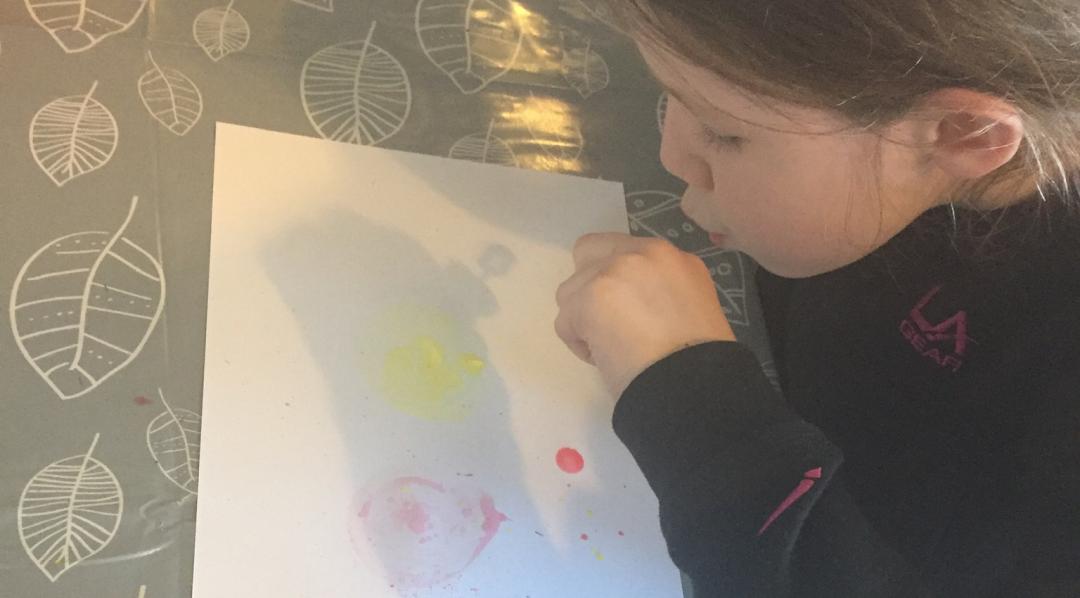
All kids love bubbles so it stands to reason they’ll love bubble painting. I did this activity with a 7 year old and a 9 year old but, as long as you take precautions to deal with the mess, it would would work well for any age. It would also make a great toddler group process art activity.
This post contains affiliate links (identified with a *) I earn a commisson from qualifying purchases
What you Need to Paint With Bubbles
- Bubble mixture – Cheap stuff* works fine
- Bubble Wands* – You’d be surprised how many cheap tubs of bubbles don’t actually contain one
- Some bowls – You can use food ones as bubble mixture is essentially washing up liquid
- Food colouring – We have this great selection*
- White paper or card – I buy big packs of white card* because we use so much!

Preparing for Bubble Painting
This activity is messy. I imagined older kids like mine would keep it fairly clean but the bubbles have a mind of their own. Once a coloured bubble pops somewhere, it will leave colour. If you wipe it straight away it will come off. We ended up with colour on the balls, floor and ourselves but were able to clean it all off relatively easily. At the very least you need a wipe clean service but if the weather is nice you may as well take this activity outside, just make sure your neighbours don’t have their washing out!
Pour some bubble mixture in to a bowl and add a few drops of food colouring, mix carefully without making the mixture bubble up. Repeat for as many colours as you want to do. We went with four but that was primarily because, despite having loads of bubbles left over from party bags, I only actually had 4 bubble wands.
We did yellow, green, blue and red. They worked well together but i would have loved to add orange and purple to see how they worked. We worked on white card as the colours show up well and we wanted to use them to make birthday cards but paper would work fine too as long as you don’t make it too wet.

The Fun Part!
Simply dip the wand into the coloured bubble mixture and blow some bubbles on to your paper or card. Some will pop straightaway leaving lots of tiny dots of colour and will some will sit on the surface and when you pop them will leave a pretty ring of colour surround by small dots.
I was worried about the colours going muddy so stopped once most of my card was coloured which left me with the effect you can see the below.

With kids, more is more, so they carried on adding bubbles and created the different but also pretty effect below.

We folded our finished pieces in half to create cards but you could also cut shapes out of them to stick on to other backgrounds or just display them on the wall.
When we were finished I let the kids go and blow the rest of the bubble mixture around the garden, only recommended if they are wearing old clothes!
If you’d like to try out another process art activity that uses food colouring, check out our attempts as marbling with shaving foam.
Enjoyed this post? Why not pin it for later!


It has been ages since we did bubble painting. My girls used to love it. What pretty pictures. x