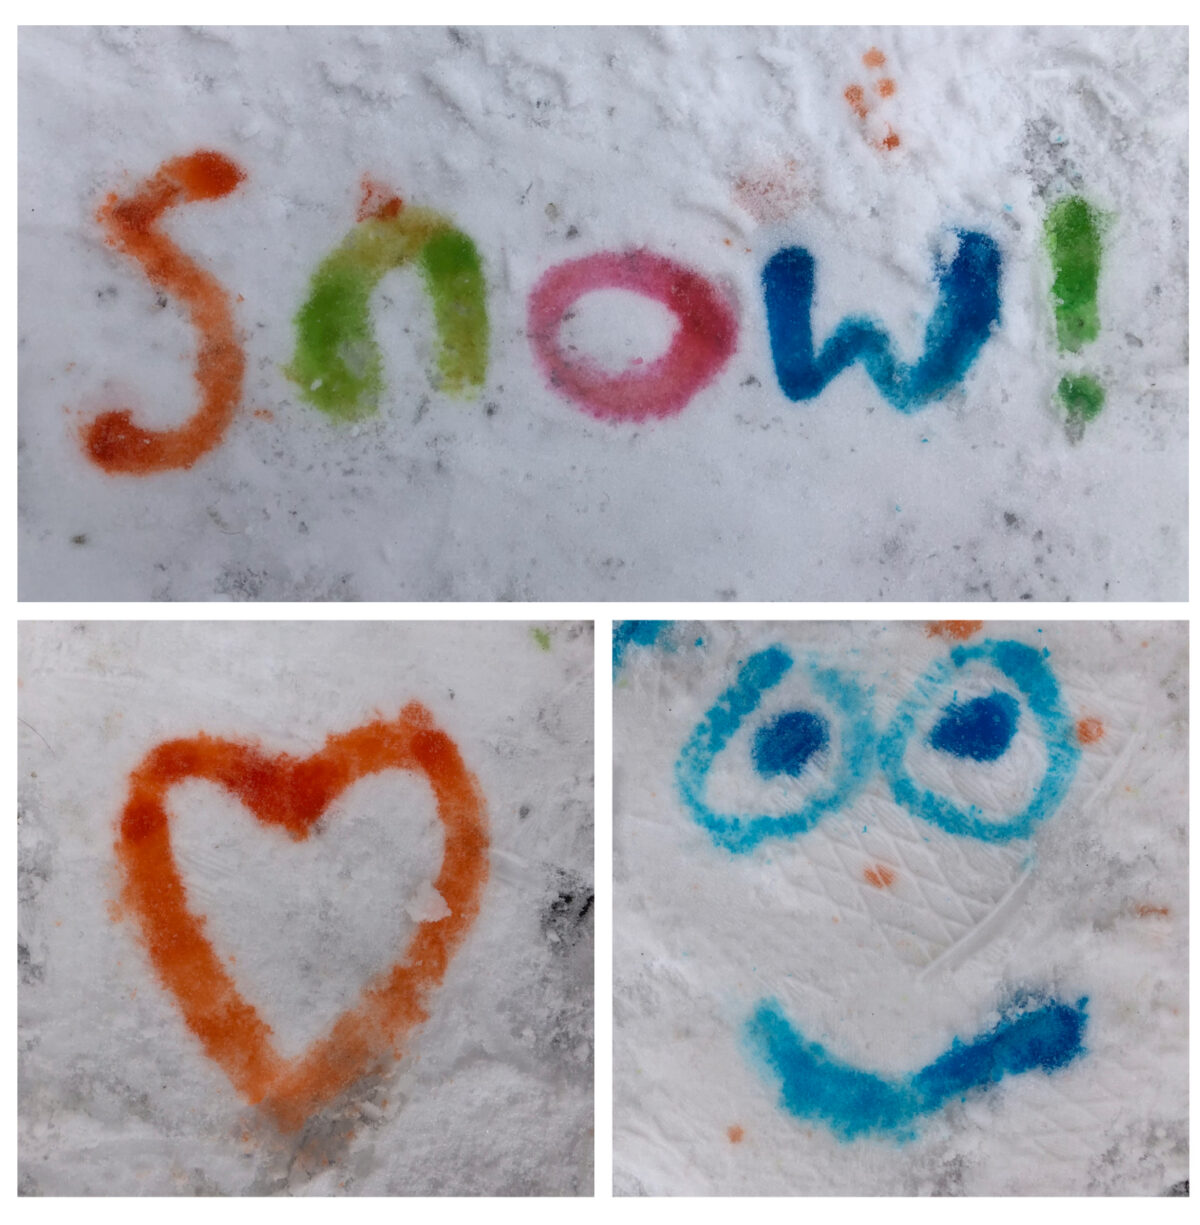
While we love having snowball fights, sledging and building snowmen, if the snow actually hangs around for a few days we can get bored of those things. That’s why we decided to take our process art outside give painting snow with food colouring a go. It was really simple to set up and the kids were able to get on with it in the garden while I stayed warm inside with a cup of tea!
This post contains affiliate links (identified with a *) I earn a commisson from qualifying purchases
What you’ll need for painting snow
- Snow! – It works best with a decent covering
- Food colouring – any food colouring* will do, we used 4 different colours
- Water – from the tap is fine
- Containers – we used plastic bowls
- Droppers, paintbrushes or Calpol syringes – droppers* create a really pretty effect, brushes are fun but you need the right type of snow. You could also have a go with spoons or straws

Preparing for Painting Snow
Put a few drops of food colouring in each bowl. As you’ll be painting on to white snow the water only needs to be tinted to the colour for it to show up so you don’t need a lot.
Next, add some water, we filled just half way to avoid spills. It’s best if an adult carries them outside.

How to Paint snow with Food Colouring
Use the droppers to drip colour into the snow. You can make specific shapes like hearts or letters. We also enjoyed just sprinkling them about to make patterns in a process art style.

If you want to use paintbrushes then you’ll need packed down snow. Stamp on it and then use your wellies to smooth it. I’d you want it really smooth then you can use a ruler or similar. You can then paint easily on it.

The Calpol syringes are harder to control but it’s a lot of fun just squirting them about and watching the snow change colour.

When we’d finished we also enjoyed throwing our bowls of coloured water across the snow!


Leave a Reply